Tuesday, December 8, 2015

Yet Another Enameling Workshop....!!

So today we brave Ladysmith Warriors met at Dana's house to try our hand AGAIN at torch-fired enameling. Not for the faint of heart! Not many of us are very educated, so it was a bit of a blind-leading-blind exercise. We did have one member who led the way for us- thank you Ellen K.!!! Without you it would've been a total disaster!!!


We had an interest in trying our hand at using pre-printed enamel decals.  We saw an article about it here that intrigued us:


So we ordered enamel decals from Delphi Glass (http://www.delphiglass.com

Below is one of the sheets purchased:


These decals utilize a water-glide paper and are printed with enamel 'dyes'.  Below- I traced and cut out heart-shaped pieces. I soaked the decals in water to release the top printed layer and placed them on top of the enameled hearts that I'd already enameled. I let them dry on a cup warmer for 15 minutes then torch-fired.


I topped them with a clear enamel layer and fired again to seal in the decal. Yay!! 


Besides the pre-printed decals, we bought sheets of water-glide paper and printed our own decals. The success of this technique depends on the amount of iron present in your laser printer toner cartridge. Unfortunately, mine had little iron because in the 2 decals I attempted to fire, neither worked.  You can see in the below example a dark area in the center where the decals were torched as well as a decal from the pre-printed ones we purchased, which obviously worked fine. 


We also bought white decals which we fired on top of pre-enameled pieces, but they weren't as good as the black decals.


We also bought dichroic paper which we tried firing- here's an article about how to do it:


Here's what the scraps of dichro paper look like- we used punches to cut out shapes:


There is a color-shift to these that the camera can't capture.  Below is a piece fired with some diamond-shaped pieces. A clear layer was fired over the dichro which adds to the permanence but diminishes the effect of the dichro color-shift.


Below are a series of pieces Bodil enameled and fired - she used all kinds of decals:


Fun!!!

And of course we did some 'regular' torch-fired enameling. We had a number of first-time enamelers. Below is a piece of Ann's- she saw-cut the floral piece and enameled several layers of enamel.


Odaybea also tried enameling today- brought some discs and washers and tried a few techniques- layering and embedding wires, and sgraffito: 


Karina also was a new enameler, and she brought some skull cut-outs to enamel. She left happy with these- they came out great:


Sonia had some fold-formed pieces and was playing with layering color:


Dana used stencils to sift patterns:


And Ellen K. used a wire to create a bezel to separate the heart color from the rest of the piece, using a wet technique to place enamel just where she wanted it:


We found that the hotter the torch, the better. Some pieces needed to be counter-enameled, and some were quite thick and formed enough not to require it. 

We need to do this more frequently so we don't forget what we learned each time!!

Fun time and thanks all the ladies who came today!!!!

Friday, September 19, 2014

Ladysmith Link Exchange


Yesterday 14 of us got together to exchange links-  a project in the works since the Winter. It took place at Peggy's house, since she is the one who organized this whole production. Thanks, Peggy!!! Still a couple of people left to finish their links, but most made it on time!! Yahoo! Here's a brief description of each link:

Sharon: 'face' polymer clay cane of a 'Ladysmith'! Set in a s.s. frame which was formed, soldered, sawed-out.

Evie: silk dye on leather, sandwiched/riveted between 2 pieces of sawed-out s.s; all a bit different 'paintings'. 

Ej: Filigree silver heart, soldered; all one-of-a-kind.

Jowita: square brass tubing cut and soldered; epoxy-filled with crushed Polish amber & fossilized wood (gagat) from the Georgia Republic.

Lucia: Mixed metal that's been roller-printed, hammered, and riveted.

Sandra: s.s. that's been corrugated, formed, dapped.

Caroline: s.s. boxes that have been roller-printed, etched, and hollow-formed; all a bit different patterns and etched images.

Dana: original was granulated Argentium, cast and lab opal inlay.

Peggy: 25 long metal tubes soldered together, sliced, and powder-coated red.

Mimi: reticulated silver and grommetted.

Cindy: CAD-designed, 3-D printed, cast, enameled; several color themes.

Bodil: cast s.s., seed bead micro-mosaic.

Odaybea: cast dragonfly soldered on a square wire, wired gemstones- amethyst, spinel, garnet and more.

Brenda: X/O reversable mixed-metal, hand-cut, riveted.

Ellen K: Fine silver etched, pierced and enameled; all a bit different.

Great job everyone! Can't wait to see the rest of the links!

Friday, June 6, 2014

Seed Bead Mosaics

This month the Ladysmiths met to see Bodil do a seed bead mosaic demo:

Here she is demonstrating it's finer points...


And here is an instruction sheet if you couldn't make it to the meeting!!


Cindy brought her mosaic- this one, however, is not done with seed beads but with cut 'strings' of polymer clay in the technique that Cynthia Toops is known for. Cindy took a class from her a few years ago. Isn't it AMAZING! Here's Cynthia Toops' website:


We are lining up for our potluck lunch!


Thanks to Ellen K., Sherry C., Cindy, Vicki, Sonia, Sharon, Brenda, Ann and Bodil (for hosting!) and me, Dana- for coming!!


A bonus was to see the first 'print' from Cindy's new 3-D printer!! Our resident CAD mistress, she designed this earring and now the world is her oyster in terms of what she can create! Can't wait to see where this journey takes her!

See you all next time!

Thursday, March 13, 2014

Adventures in Pen Plating!

 So today the ladies came to see how to use a 'pen' to selectively plate metal.

We had a big group: Jowita, Cindy, Ann D., Vicki, Sonia, Ej, Sharon, Odaybea, Ann C., Bodil, and Dana- 4 of which are new Ladysmiths!


The first thing you need is a rectifier- there're several available on Rio Grande, or you can try Amazon, like I did. You need at a minimum a 3-amp machine. You could also use this to electroform as well as do a saltwater etch, so it really is a 3-in-1 tool! (like you need a reason to validate a tool purchase...)


You also need a pen for plating- this is 2 leads (red & black) to plug into your rectifier, plus a clamp, and the pen, with nibs included.


Lastly you need the material you want to plate onto with- there are lots available from many companies- Midas is the most well-known and comes in many types of gold, silver, rhodium, etc... I bought the one above.
It's a nasty and expensive mix, so be sure you don't spill it! It's acid (cyanide) based, and you don't want to get it on ANYTHING.

I got seduced into trying this process by watching Ann Davis' video below. And we were lucky to have her with us today to give us street cred (and lots of advice, which we needed). So PLEASE watch this video if you want to see the process in action!!!! It will explain how & where to clamp onto your piece, and much more. The container of gold actually says to use between 3-8 volts, so that's how you know how to set the voltage- small pieces 3-4, up to larger pieces 7-8. I had mine set too high for a small piece and I was 'burning' gold- it looked brown and ugly. Fortunately Ann was there to set me straight!


Here's a piece 'before'.


And here is the 'after'.

Nice!


Here's another few pieces I played with. Very fun, satifying... AND VERY THIN. Don't think about doing this with your piece UNTIL EVERYTHING ELSE HAS BEEN DONE. That means final finishing.


Okay- on to some other stuff.... you can see in the background of the above picture that I used some jett sett to sink my bottle of gold into so it wouldn't spill (Ann's idea).

The above piece is Ej's and is a magnetic holder for burrs- they connect on magnetically right to the outer ring. Cool!


Now on to some RECENT WORK:


Jowita is taking a class on resin- these bracelets have different foils floating in them.


And here is a clasp that Jowita made, too- very modern.


Some pieces from Bodil's new line of jewelry with sapphires.


Ann C. is playing with some amazing piercing/sawing techniques.


Cindy's experimental piece- polymer clay base with outlines in metal clay, which were then pen-plated with gold.


Ann D.'s multi-level ring with enamel.


Ann's piece was made of cutouts of copper clay.


Sonia's earrings- very sculptual and with some really cool stones.


Recent pieces by Sharon- Koroit opal, variscite with fossil coral.


Ring by Vicki- one of her first soldering projects!


Another great piece by Vicki.


Sharon's 'pod' earrings.


Odaybea's piece was carved in wax and cast- a remembrance of her late father....

Thanks all- see you next time!!


Friday, February 14, 2014

Saying Goodbye to Karen

Today we met at First Watch restaurant for brunch to say goodbye to Karen, who's moving to the 'other coast' tomorrow! Bah!

It was a snow day, but we still had a nice crowd: Bodil, Odaybea, Sonia, Sharon, Evie, Mimi, Karen, Jowita, and Ellen K.


Karen got all kinds of presents- links, earrings, food, etc... she seemed to enjoy every second of it and actually got a little verklempt here and there...


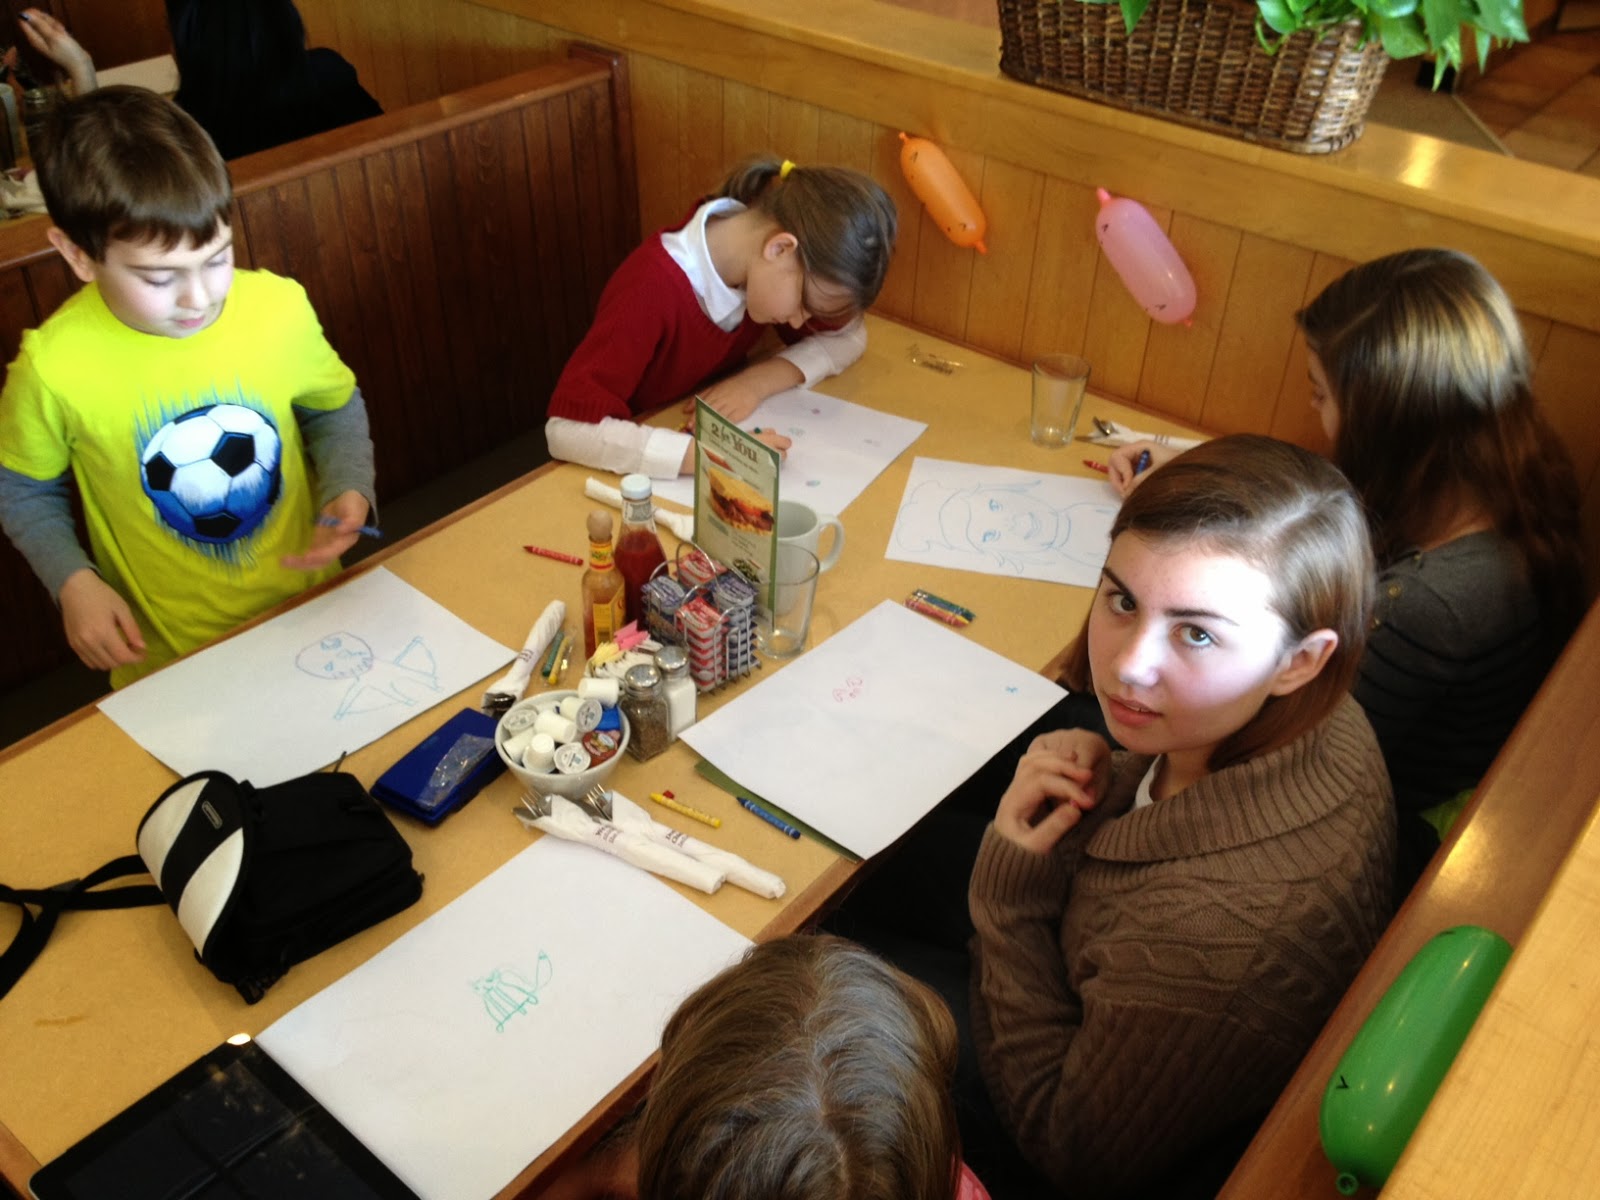
Because it was a snow day, we had a kids' table of possible future metalsmiths??


Ladysmiths Jr. had a very important meeting of their own.....


Ladysmiths Jr. was not always a very well-behaved group....


Karen got some good stuff! Earrings from Sharon, and links from Jowita, Mimi, Odaybea, Peggy, Sandra, Ellen Y., Bodil, and Dana.


Mimi showed us work from a recent workshop she took with Barbara Becker Simon. First she made polymer clay models of faces.


Then, she created molds using a new product...


This! Then, she used metal clay (and allowed for shrinkage)....


Pressed the clay into the molds, and fired into some awesome silver faces then made into rings!


Odaybea made these gorgeous dragonfly rings- wowzers! She casted the bodies and then soldered on etched wings (from our last etching workshop!) and set the stones.


She also used a kistka to create wax veining on a seed pod, which was then cast into this heart-shaped piece, just in time for today- Valentines' Day!!


And Evie created this (upside down) file caddy! She stitched an open pocket, then ran parallel lines down to hold mini hand-files. Brilliant!!